FAQ
MetaHumans have missing shadows

UE 5.0 introduced a bug, which in some cases caused missing shadows on skeletal meshes when rendering with the Movie Render Queue. This is now fixed in UE 5.1.
The eyelashes on my MetaHuman are casting weird shadows
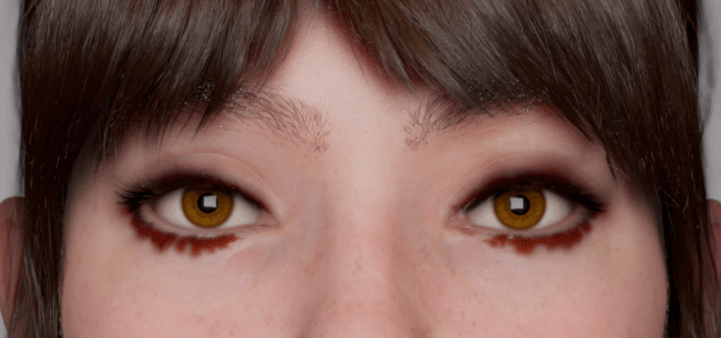
In UE 4.27, transparent materials are now casting shadows by default. The solution is to disable Cast Shadows for the eyelash material under LOD0 > Sections on the face skeletal mesh asset.

There are banding artifacts in my scene
If you have ray tracing disabled, you can get banding artifacts which are caused by the shadow maps. To solve this, decrease the Attenuation Radius under the Advanced tab in the light blueprint.
The editor crashes when opening the project
Ray tracing is enabled by default for maximum quality, but can make the project crash in cases where the GPU is below the recommended specifications.
Go into VirtualPhotography\Config\DefaultEngine.ini and change the following lines to disable ray tracing.
Change:
r.RayTracing=True
DefaultGraphicsRHI=DefaultGraphicsRHI_DX12
To:
r.RayTracing=False
DefaultGraphicsRHI=DefaultGraphicsRHI_Default
I get "Undefined Object" when opening the Editor Utility Widget
You need to enable the following plug-ins in your project:
- AppleProResMedia
- EditorScriptingUtilities
- MovieRenderPipeline
- SequencerScripting
The editor prompts me to save my level even though I haven't done any changes
This occurs whenever the Render Widget is open. It's a bug in UE4 that is fixed in UE5.
My animated camera doesn't move in my render
Do you have a Sequencer window open? Make sure to close it down before rendering, since it can cause the render to get stuck at the position the time handle is in the opened sequence.
My screenshot gets noisy when using path tracing
This is because the default delay in the screenshot tool is too low for path tracing. Make sure to set the Render Method to Path Tracer under the Advanced tab in Render Settings in the RenderWidget. Now it will use the Samples Per Pixel value from the Core blueprint, if you have one in your scene.
My render gets blurry when using path tracing
Try adjusting the Filter Width in the Core blueprint. Lower values gets you a sharper image, but with more aliasing. You can also try to set the Samples Per Pixel to a higher value, and also disabling the Denoiser can help.
Why should I use this toolkit instead of the default cameras and lights in Unreal?
It's about saving time, and making Unreal more accessible.
I made these tools because I found myself doing the same things over and over, and doing a lot of reading on what exactly all the settings on the cameras and the lights actually do, and if they were benefitting me or if they we're just used for some specific game feature that a photographer would never need to use. I've tried to clean up the clutter and focus only on the settings important when doing cinematic quality lighting.
It's taken me years to research all these things, so I figured I could help others save time by creating these blueprints.
Let's say you're a photographer. Do you need to know what the Shadow Exponent does, and the fact that you only need it for Lightmass? What even is Lightmass, you may ask?
There's so many tricks to get a high quality render out of Unreal. Take the camera sensor size and output resolution as an example. If you change the Filmback on the camera, you need to adjust the output resolution accordingly to avoid getting black bars. What resolution ratio should I use if I want to output a 3:2 image? You could bring up the calculator and do the math every time, but I've simplified it so you don't even have to think about it, since the Camera blueprint and the Render Widget communicate with each other.
Not to mention all the ray tracing specific features that have eluded even me, an experienced lighting artist. That's where the Core blueprint comes in. The settings in the blueprint are set to values that gives the best quality right from the start, and exposes only the settings that actually contribute to the quality of the image.
Finally it's also for artists who want to get into photography. That's why there's lighting presets so they can study how different lighting setups define the look, and where the optimal light position is for each specific style.
I hope these tools can make your virtual photography experience smoother, because it sure helps me!